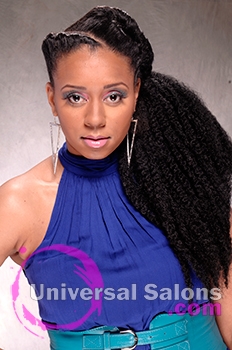
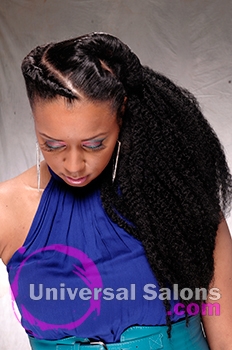
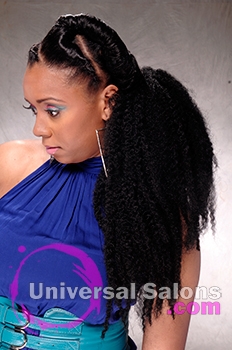
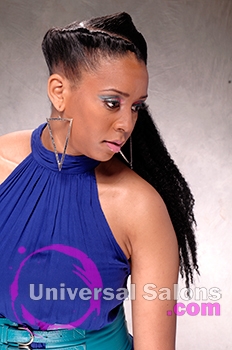
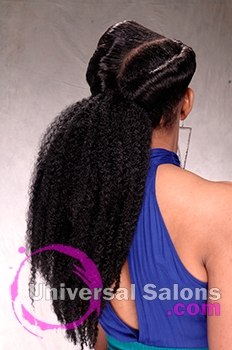
Salon: Godly Image Hair Studio
Stylist: Marie Coleus
Model: Charmeeka
This hairstyle is absolutely perfect for a special occasion or a night out. It is also an excellent protective style for relaxed hair. Natural hair might have to be blown out to achieve the smooth look seen in the picture.
How To Create This Hairstyle On Your Own:
What You’ll Need:A wide-toothed comb, Smoothing Gel (for better hold), Hair tie, Bobby pins/hair clips, Rubber bands, Shine spray and/or a natural oil, Leave-in conditioner, Hair Extensions (Marley Hair is best, but any curly hair extensions will work just fine)
1. Section off hair and totally detangle it, combing from the ends and working your way up the shaft, until you can comb the hair from the roots without issue.
2. Section the hair diagonally, aiming for three very large sections.
3. Starting with the section closest to your right ear, apply leave-in conditioner to the hair. Keep in mind that the hair should not be coated with too much leave-in conditioner or left sticky. It should just feel moisturized.
4. “Seal” the section with your choice of shine spray or a natural oil. This will help the hair retain its moisture if the style is left in for longer than a day and add a healthy sheen to the hairstyle
5. Starting from the front of the section, twist the hair backwards. Keep the twist close to the scalp and try not to stop until you’ve twisted the entire section. If, for some reason, you have to stop mid-twist, be sure to use one of your bobby pins to hold the hair in place until you can restart twisting.
6. If pieces of hair escape the twist, slick them down with small amount of smoothing gel. Once you’ve twisted the entire section, secure it with a hair tie or a rubber band
7. Repeat steps 3-6 on the two sections of hair that remain.
8. After you’ve twisted the three sections of hair, go back through the twists and make sure that there are no loose sections that could cause the whole twist to come apart. If there are, secure them with a bobby pin.
9. Once all three sections are done and secured, it’s simply a matter of clipping the extensions to the hair secured in the rubber band.

